

INGREDIENTS
50 Gr. bubbly, active starter
350 Gr.warm water
500 Gr. bread flour – I often use 400 Gr. bread flour + 100 Gr. Rye flour
10 Gr. fine sea salt
INSTRUCTIONS
If you plan to bake first thing in the morning, the night before, simply whisk the starter and water together in a large bowl with a fork or a Danish whisk. Add the flour and salt and combine until a stiff dough forms, then finish mixing by hand to fully incorporate the flour.
The dough will feel very dense and shaggy, and it will stick to your fingers as you go.
Cover with a damp towel or cling film and let it rest for 30 minutes.
Replenish your starter with fresh flour and water, and store according to preference.
After the dough has rested, work the mass into a fairly smooth ball. To do this, grab a portion of the dough and fold it over, pressing your fingertips into the center.
Repeat, working your way around the dough until it begins to tighten, about 15 seconds.
I usually wet my fingers when I stretch the dough, it won’t stick to your hands and you add a little bit of water to the preparation which makes it easier to fold.
Cover the bowl with a shower cap/cling film or a damp cloth and let rise overnight at room temperature.
This will take about 8 to 10 hours.
The dough is ready when it no longer looks dense and has doubled in size. The first time I tried it, the dough did quite double in size, but still had a great rise in the oven.
In the morning, coax the dough onto a lightly floured work surface. To shape it into a round, start at the top and fold the dough over toward the center.
Turn the dough slightly and fold over the next section of dough. Repeat until you have come full circle. Flip the dough over and let rest for 5 to 10 minutes.
Meanwhile, line a 20 cm bowl with a towel and dust with flour. With floured hands, gently cup the dough and pull it toward you in a circular motion to tighten its shape. Using a bench scraper, place the dough into the bowl, seam side up.
Cover the bowl and let rest for 30 minutes to 1 hour. The dough is ready when it looks puffy and has risen slightly but has not yet doubled in size.
Preheat your oven to 230°C. Cut a sheet of parchment paper to t the size of your baking pot, leaving enough excess around the sides to remove the bread.
Place the parchment over the dough and invert the bowl to release. Sprinkle the dough with flour and gently rub the surface with your hands. Using a razor blade, score the dough across with a fairly deep cut.
Use the parchment to transfer the dough to the baking pot.
Bake the dough on the center rack for 30 minutes, covered. Remove the lid, and continue to bake for 20 minutes. Then, carefully remove the loaf from the pot and bake directly on the oven rack for the last 10 minutes to crisp the crust.
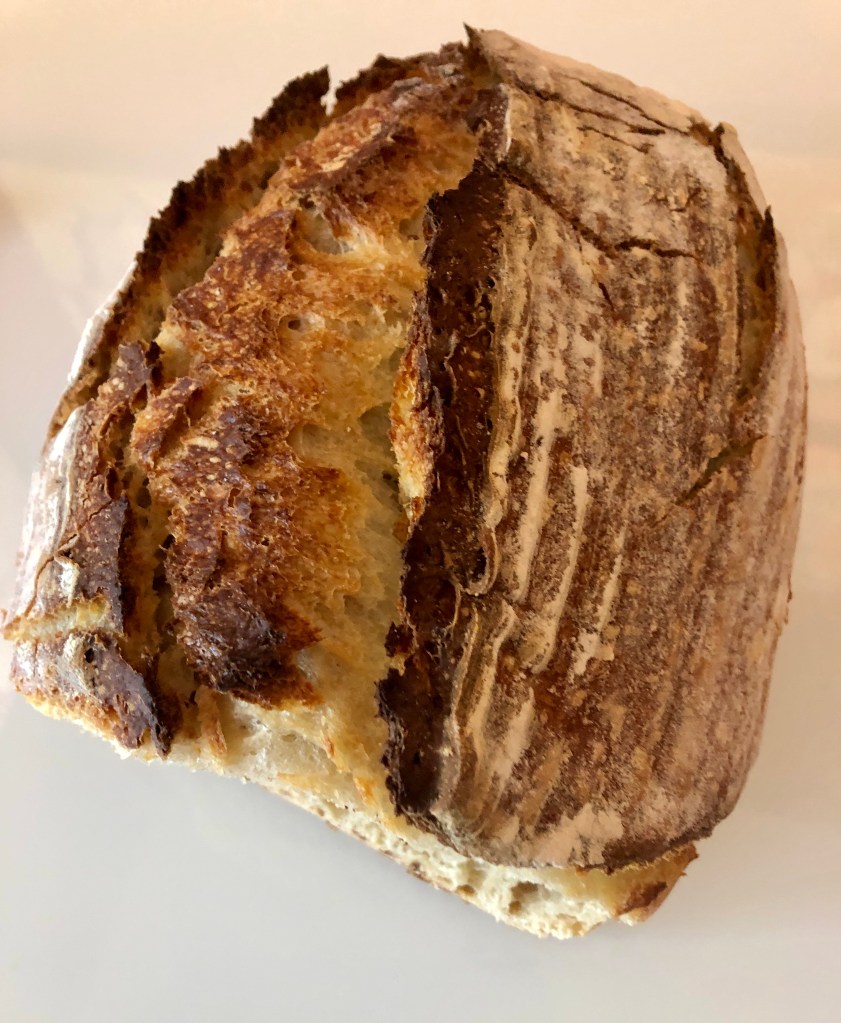
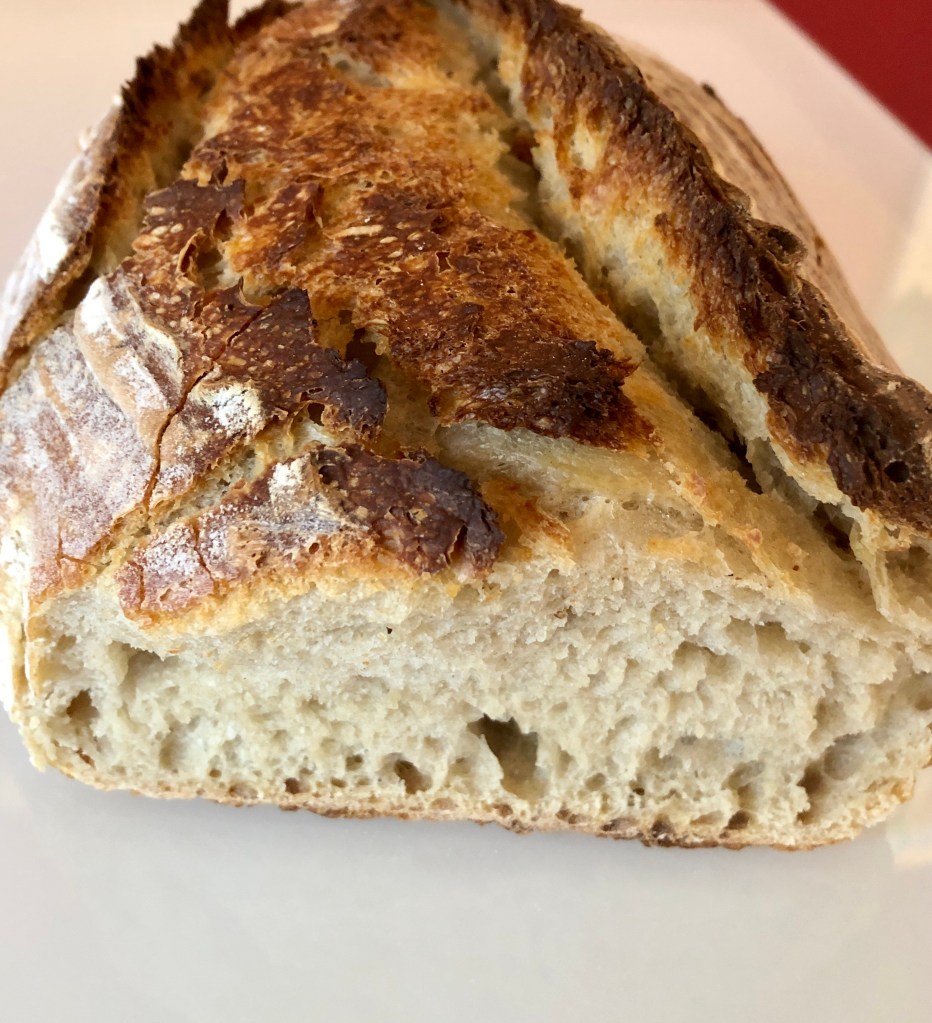
When finished, transfer to a wire rack. Cool for 1 hour before slicing.
Tip du jour :
The first time you try this recipe, I would recommend to use white flour. (Bread flour is ideal, but all purpose flour works very well.). Afterwards, you can experiment with wholewheat flour and rye flour. As we mostly eat this bread
for breakfast, the addition of rye flour works very well and keeps the dough quite spongy.
For lining your banneton, you can use Rice flour, which does not stick to the basket.

Leave a comment